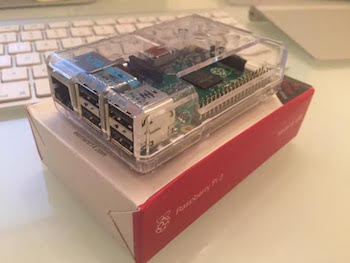
Installing Ubuntu Snappy Core on a Rasberry Pi 2 using a Mac
Fri, Nov 6, 2015This is a short guide to installing Ubuntu Snappy Core on a Rasberry Pi 2 using a Mac. It is pretty straight-forward but there are a couple of areas where you can get caught out.
First, download the Ubuntu Snappy image from:
As of writing the latest release was:
- ubuntu-15.04-snappy-armhf-rpi2.img.xz
Insert your SD card if you haven’t done so already and use diskutil to find it.
$ diskutil list
Make sure you are confident that you know exact which disk is your SD card before proceeding. The relevant part of my output was:
/dev/disk4 (external, physical):
#:                       TYPE NAME                    SIZE       IDENTIFIER
0:     FDisk_partition_scheme                        31.9 GB     disk4
1:                  Windows_FAT_32 Untitled          31.9 GB     disk4s1
Umount the disk with:
diskutil unmountDisk /dev/disk4
Then proceed to write your Ubuntu image to the card with:
$ unxz -c ubuntu-15.04-snappy-armhf-rpi2.img.xz | sudo dd of=/dev/rdisk4 bs=32m && sync
Notice the use of ‘r’ in front of the /dev/disk4 file.
Thats all there is to it. Pop the SD card into your Rasberry Pi 2 and start using Ubuntu Snappy Core.


